Configuring a DC Motor
Now that you’ve created a file, you will need to add a DC Motor to the configuration file.
Important
At this point, although you have created your configuration file, you have not yet saved its contents to the Robot Controller. You will save the configuration file later in the Saving the Configuration Information step.
Configuring a DC Motor Instructions
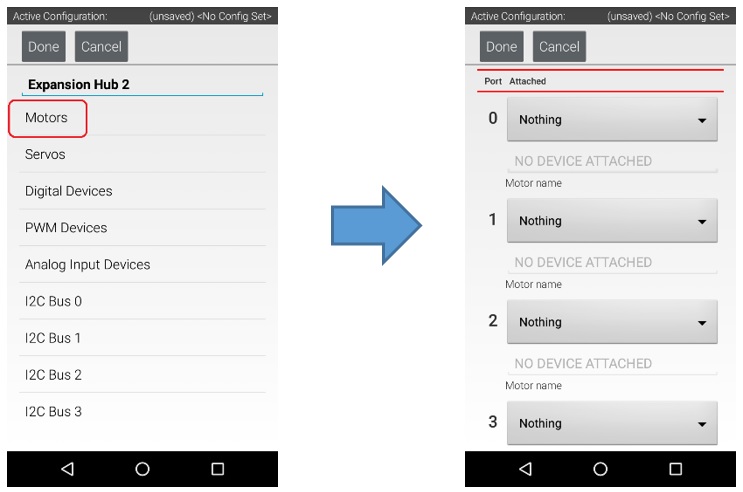
1. Touch the word Motors on the screen to display the Motor Configuration screen.
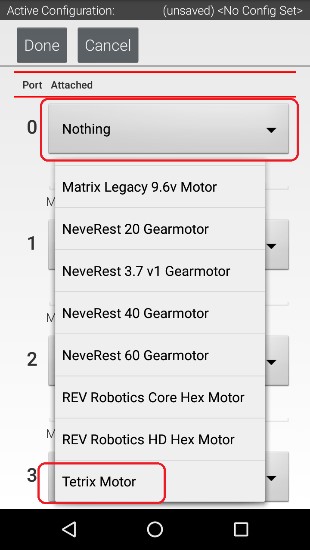
2. Since we installed our motor onto port #0 of the Expansion Hub, use the dropdown control for port 0 to select the motor type (Tetrix Motor for this example).
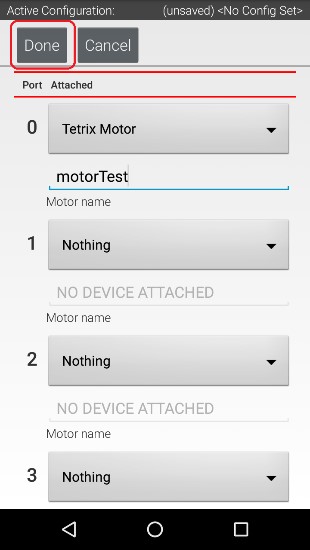
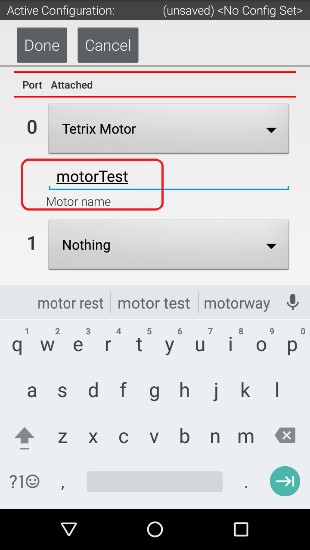
3. Use the touch screen keypad to specify a name for your motor (“motorTest” in this example).
4. Press the Done button to complete the motor configuration. The app should return to the previous screen.