Connecting 12V Power to the Hub
The Hub draws power from a 12V rechargeable battery. For safety reasons, the battery has a 20A fuse built in. A mechanical switch is used to turn on/turn off the power.
Note that it will take an estimated 5 minutes to complete this task.
Connecting 12V Power to the Hub Instructions
1. If your 12V battery has a Tamiya style connector, connect the Tamiya to XT30 adapter cable to the matching end of the switch cable.
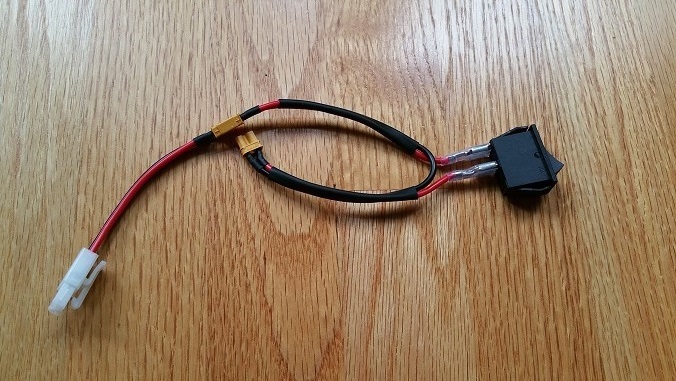
Note
Do not connect the 12V battery to the Tamiya adapter yet. We will connect the battery during a later step.
2. Connect the other end of the switch cable to a matching XT30 port on the Hub.
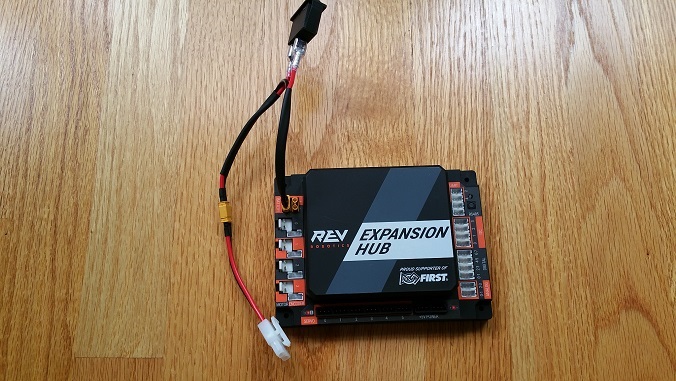
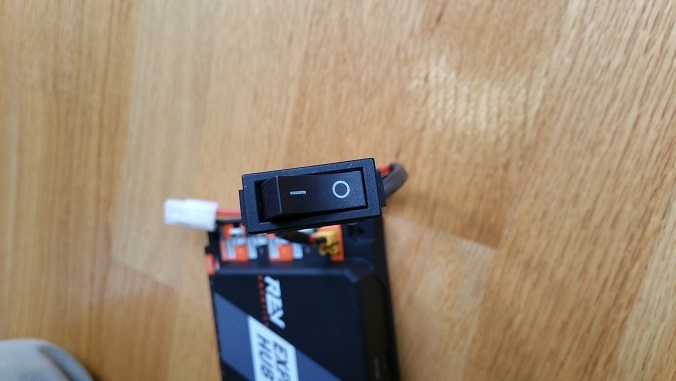
Verify that the switch is in the OFF position.
Connect the 12V battery to the Tamiya to XT30 cable.
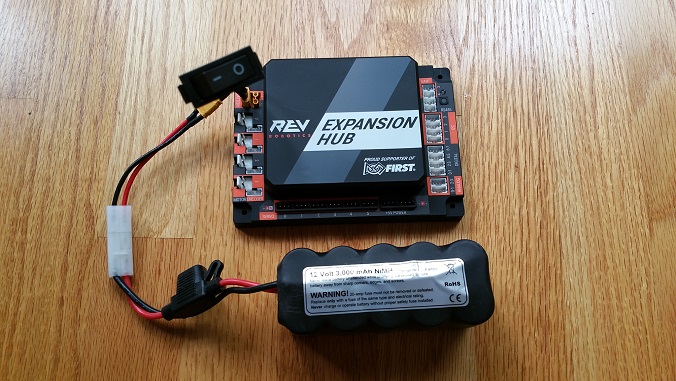
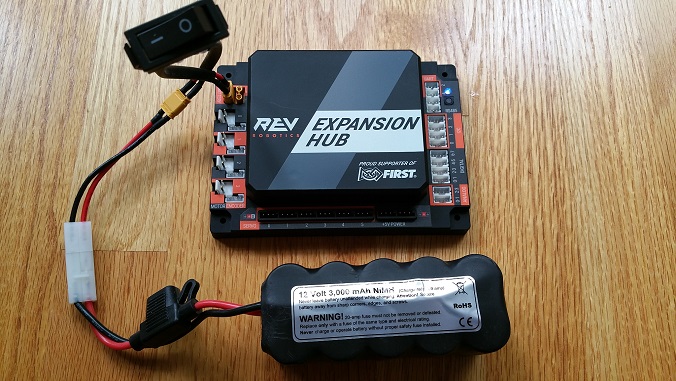
5. Turn on the switch and verify that the Hub is drawing power from the battery. Note that the Hub’s LED should be illuminated (notice the blue LED in upper right-hand corner of the Hub in the image below).
6. Turn off the switch and verify that the Hub is off. Note that the Hub’s LED should not be illuminated.
